Creating a Christmas tree that you love is easier than you think. It is a labor of love, but you can create one that looks just like the professional trees you see in magazines and on tv shows. You can achieve this look by layering your tree with lots of different textures, ornaments, and ribbon. I will break this tree down as I decorate to show you the steps I take in decorating my trees. My trees may look different every year, but the process is always the same.
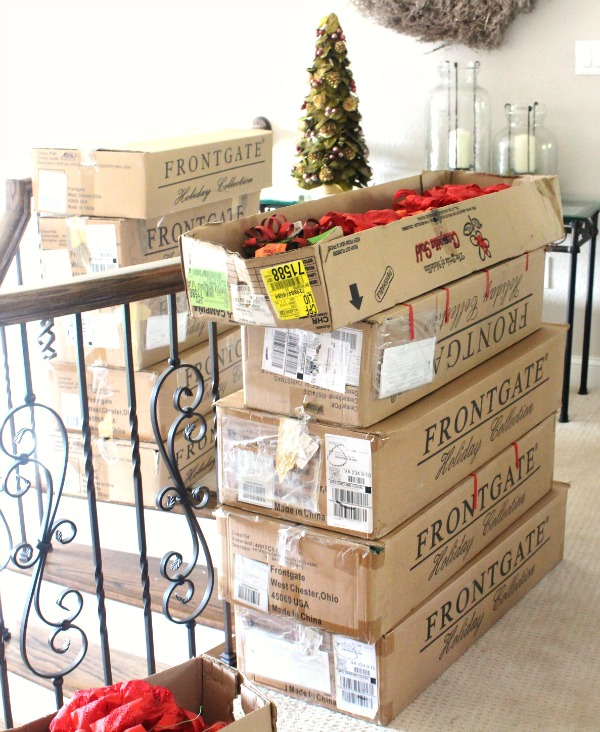
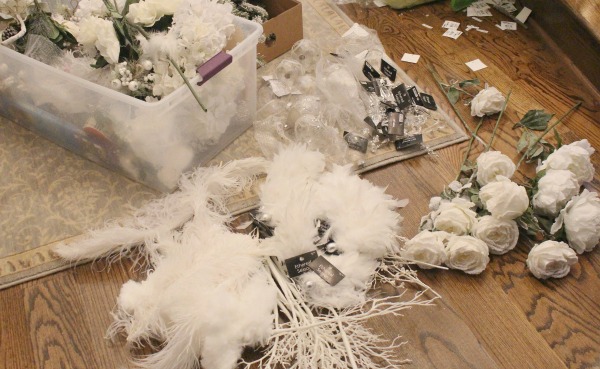
Start by taking all your boxes out of storage. You need to be able to see everything you have in order to decorate at your best. This step is very important. Don’t skip it.
I’m lucky to have a walk in attic that gives me quite a lot of storage space. If you don’t have that space you could use your garage, a closet, a storage locker, or shed if you need more room. Lay out all your ornaments, sprays, and picks so you can see what you have.
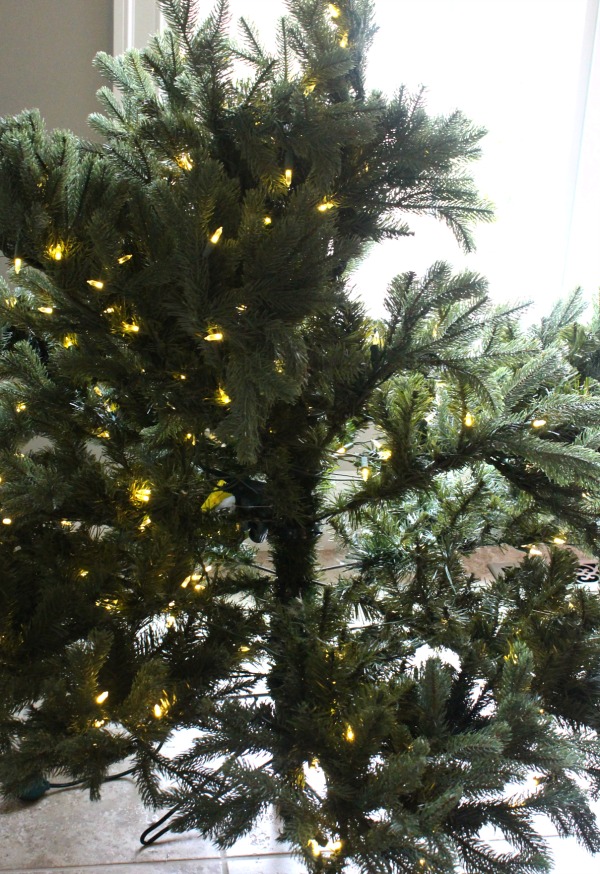
Now it is time to actually put your tree together (if you’re using an artificial one.) My husband is allergic to real trees so this is what we use. I actually like them, because you can put them up any time you’re ready and they can be manipulated very easily.
Fluffing your tree before you put the ornaments on is the step I hate the most. I would definitely advise you to wear a long sleeve shirt while doing this. I learned the hard way. Stringing lights and fluffing trees in short sleeves can leave cuts on your hands and arms for weeks.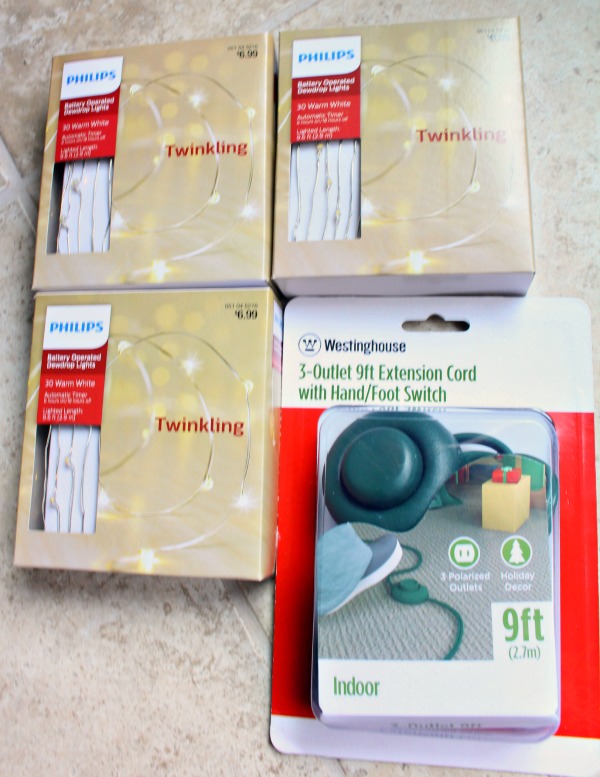
If you buy a tree without lights then you need to add them at this point. You usually need 100 lights per foot. For example, if you have a 9 foot tree, you need 900 lights. Make sure you buy lights that have a cord that is the same color as your tree. For example, if you have a green tree then the cord needs to be green. If you have a flocked tree then your cord should be white. Also, cut the tags off the cords. You don’t want those showing through your tree after all the hard work you put in. I felt like my tree didn’t have enough lights so I added a string of lights around the tree and then I put twinkling lights down the center to give it a hint of sparkle for that wow factor.
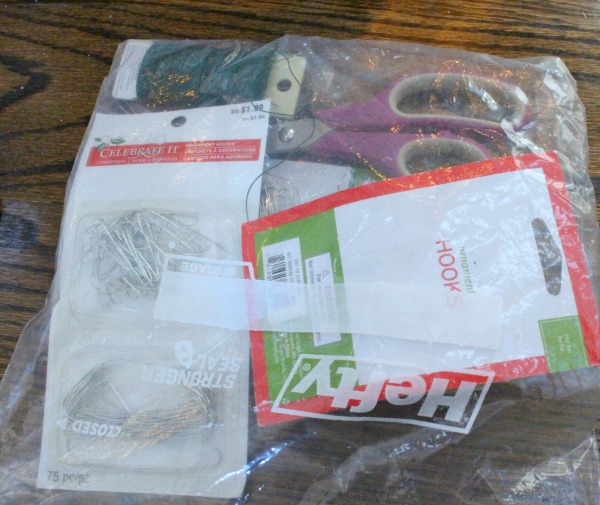
At the end of the season I put away my most used supplies in a bag or box and put that at the top of all my stuff. I usually include my wire cutters, different colored wire, ornament hooks, scissors, tape, and a couple different pens.
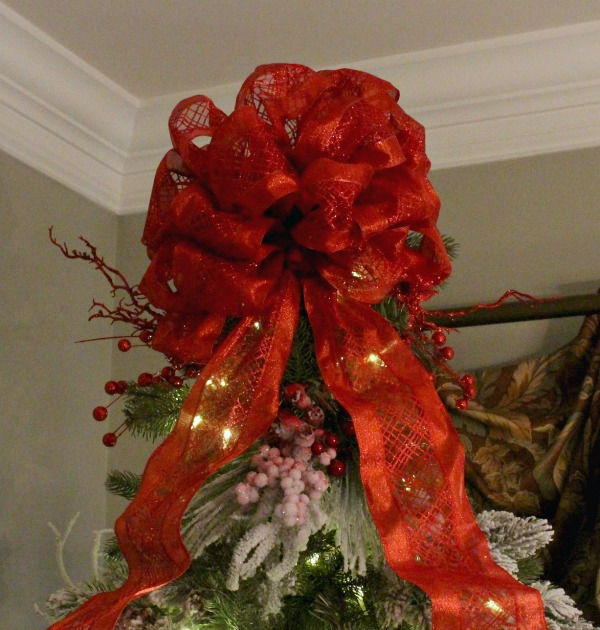
If you use a tree topper I attach it or create it before I start putting anything on the tree. It usually requires me to be on a ladder so I don’t want things falling off the tree as I’m trying to manipulate the top to get my topper on.
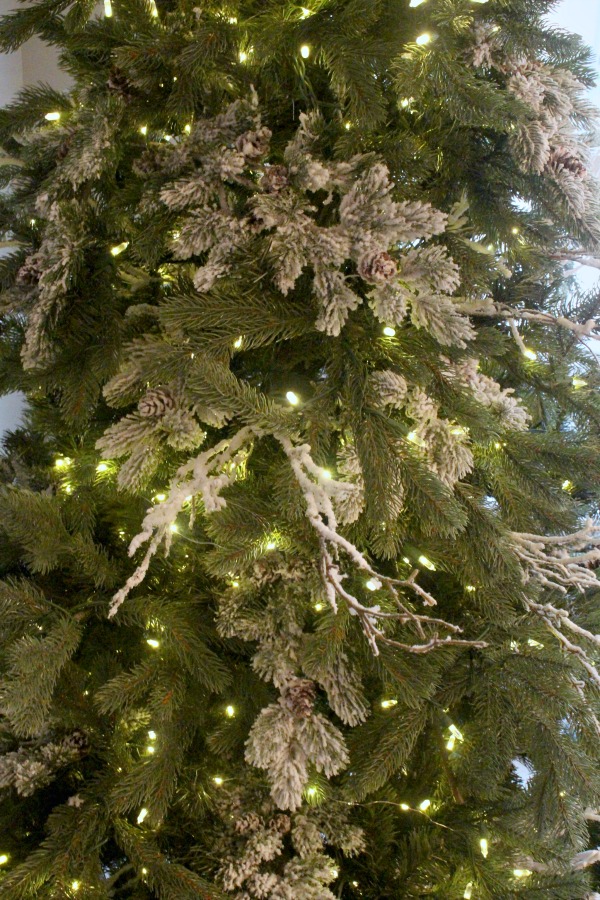
If you are going to add picks and florals to your tree, you need to put those items in next. They are large items that fill in your tree. They are space fillers and they change the shape of your tree dramatically. You do not want to try to put these in after you add your delicate glass ornaments. I usually put all the fillers near each other to make a bigger impact. On this 7 1/2 foot tree you can see that I used 2 types of snowy picks. I put approximately 20 large snowy picks on the front of my tree. I do decorate the back of my trees, but not to the extent as the front. I add more picks as final fill ins when I do my vignettes in a later stage.
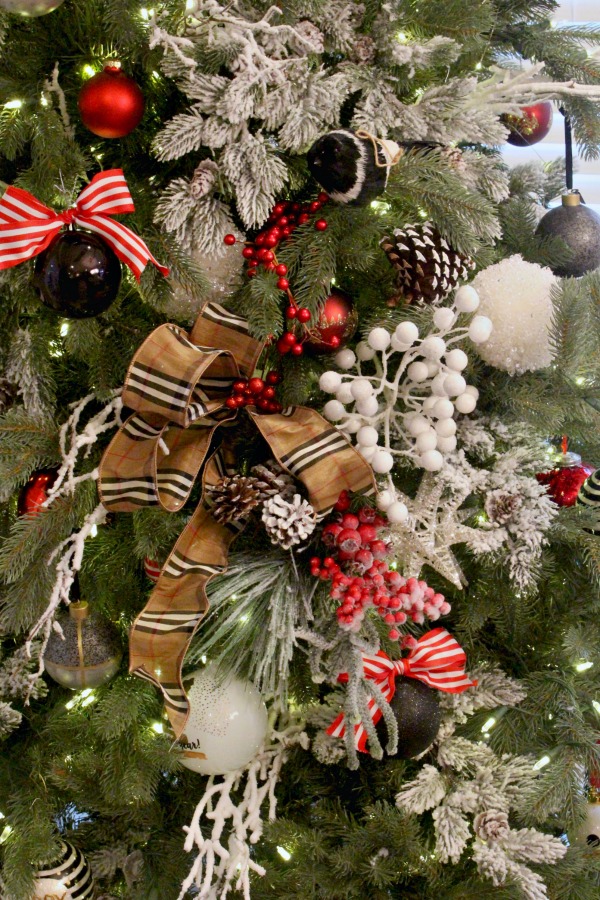
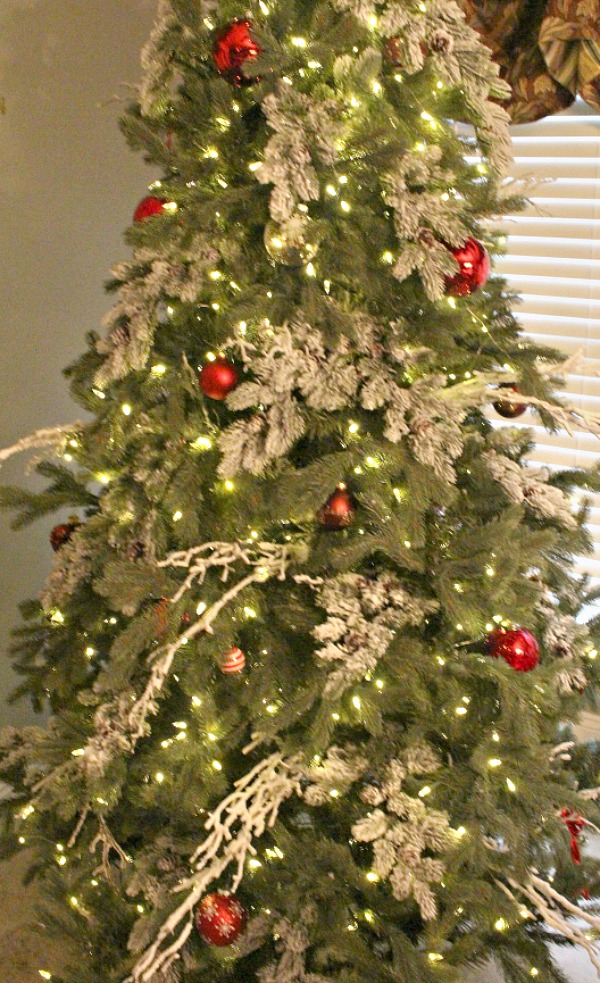 Now it is time to add your ornaments. I usually put the bigger ornaments on the bottom with the medium in the middle and the smaller ones on top. You can create depth and add drama by putting ornaments from the inside out. There are several different ways to add ornaments to a tree. You can add by doing one color at a time to disperse them evenly. You can group them in sets of 3 to do cluster groupings. You can decorate by creating lots of vignettes all over your tree. This is why setting out all your ornaments in an earlier stage comes in handy so you can see everything.
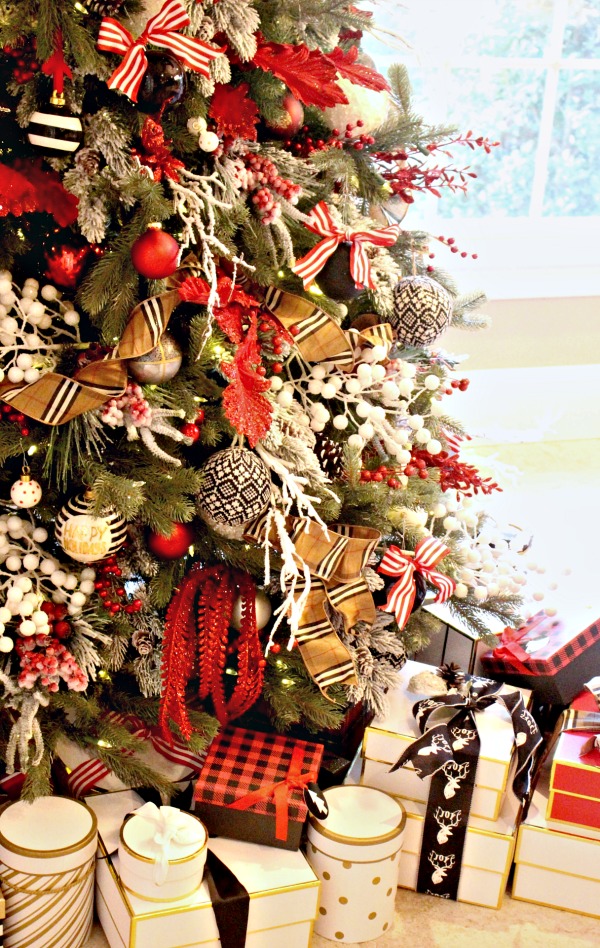
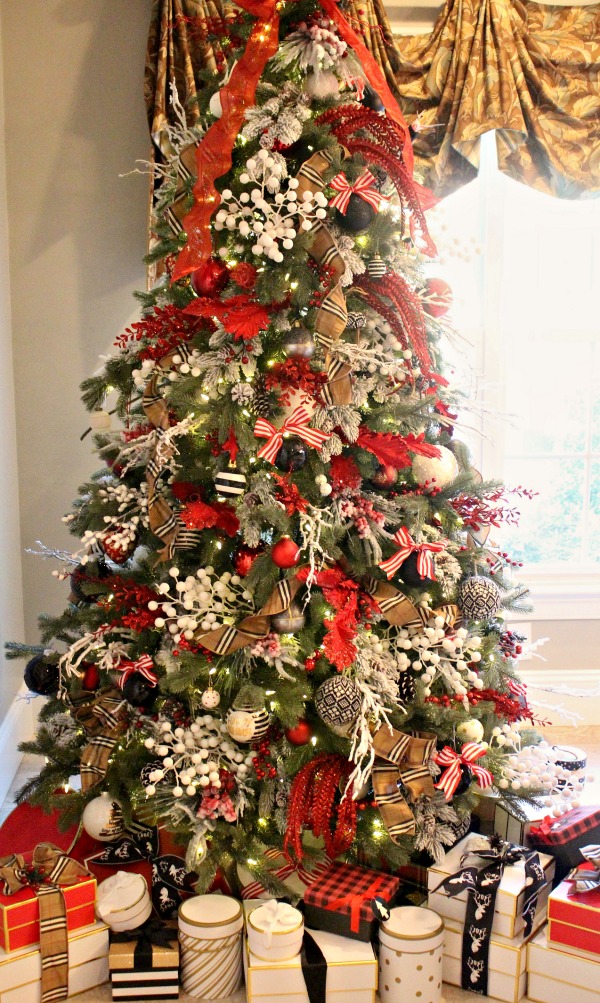
At this stage I like to create small vignettes in 36″ sections around my tree to make it look symmetrical. It is also a good way to spread your items out instead of using them all in the same area. It gives you a much more unified look. At this point I like to use a variety of ornaments and use the rest of my picks and berry sprigs. Some people put ribbon on in the beginning stages, but I like to add it on in the end.
Try these steps when decorating your tree. I think they will help you achieve the look you’re going for. I always end up changing things as I get further into the process. Stepping back and looking at different angles will help you see if there are any spots you missed or if anything needs to be changed. At the end I always style the bottom even if it is just some ornaments or packages on the skirt.
I hope these tips were helpful in showing you the process of how I do my tree during each stage. I would love to see your trees on Facebook and Instagram. Please tag me if you share so I can see how wonderful they look.
Yours Truly,
Jenn








I never put my topper on until last and get mad when I knock things off! Next time I’ll do it first. Also, I love your idea of laying items out before starting. Great tips and a beautiful tree!
Connie,
I’m so glad you found some tips that would help you when decorating your tree next year. It is very frustrating when you get things exactly the way you want it then you remember the tree topper needs to go on. I was happy that I only broke 1 ornament per tree this year. I thought that was pretty good. Send me pictures if you think about it.
XO,
jenn